Promotions
Promotions are a powerful tool for providing discounts and specials to customers. While they require some initial setup, they can be quite simple and automatic to use once this is done.
1. You'll need to enable promotions in the options menu. (From the main invoice screen, tools -> options -> invoice settings) Either the automatic or manual setting can work, depending on your desire for the feature. Additionally, from the same screen, Combine Lines must be disabled; this feature and promotions are incompatible and, if they are both turned on, Combine Lines takes priority and promotions are automatically disabled. After changing these options, restart the software.
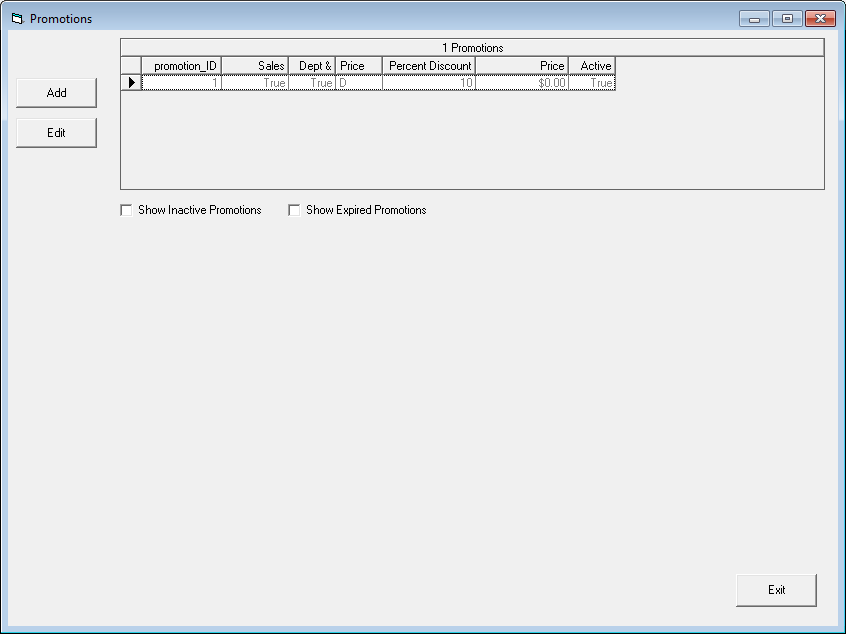
2. You may set up and edit promotions from Promotion Maintenance, found from the main invoice screen via view -> promotions. You may have one or many (or, of course, no) promotions going at any time, but only one promotion will be applied to any given line item. In the event that the same item is eligible for multiple promotions, the first one will take precedent.
3. Upon creating or editing a promotion, you may choose to have it be continuous, recurring on specific days or the week, during a specific date range, or tied to a discount card. You may also set a promotion to be inactive, which will prevent it from being applied to any invoices.
4. Promotions may be set to sales for departments or categories, sales for specific items, or for additional trade in credit. For the sales promotions, either a percent discount or a specific price may be set, and a minimum quantity purchased to trigger the promotion. For trade ins, only a percent may be entered.
5. For sales, you'll need to select what items it applies to. Note that only items meeting all criteria are discounted; if you leave both new and used unchecked, for example, or do not select any departments no items will fall under the promotion. For trade in promotions, you'll need to mark check-boxes for store credit and cash trades.