Installation Instructions for ExtremePOS 2.9
For Fresh Installations
These instructions apply to those installing ExtremePOS 2.9 to a system that has not previously had a copy of ExtremePOS version 2 on it. For those who are doing an upgrade, please see the document “Upgrade Instructions for ExtremePOS 2.6 to 2.9”
YOU SHOULD INSTALL ON THE STATION YOU INTEND TO USE AS A SERVER FIRST.
To do the installation, you will need to run setup.exe. Follow through the prompted screens. Make certain you install for All Users if you are planning on having multiple Windows accounts access the computer. Once the EPOS Core has finished installing, you will need to go back to the ExtremePOS Install and run it. Depending on your version of Windows and other installed programs, you may be prompted to install additional programs upon running the “setup.exe” located in this directory; if so, allow them to install.
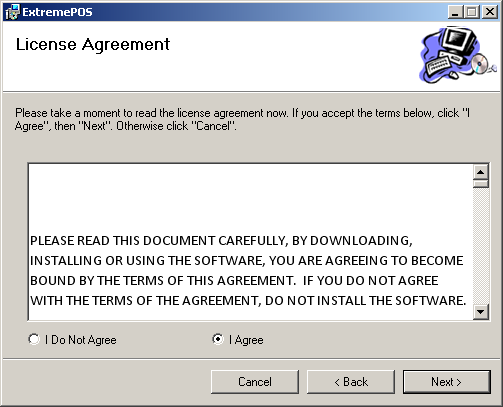
You will be required to agree to terms and conditions of the license for each program at time of install.
Once again, follow through the prompts of the installation program. You will be required to agree to the license agreement to perform the installation.
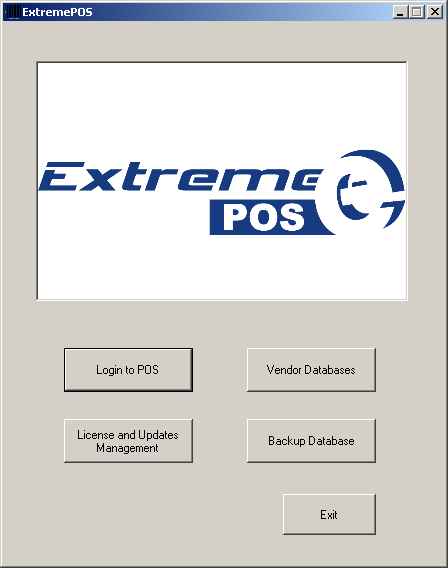
On your desktop, you will now find a shortcut for ExtremePOS, with a barcode logo. Run it.
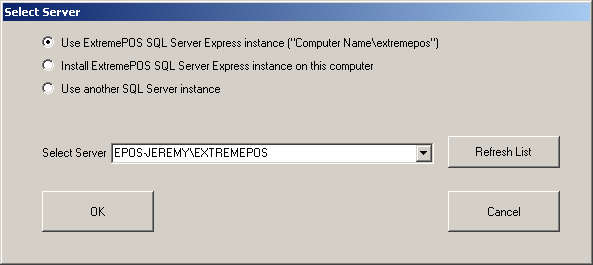
You will be prompted to select a database server. If this is the station you intend to use as your server, then select “Install ExtremePOS SQL Server Express instance on this computer”. Otherwise, select your server instance from the list of computers on the dropdown box. If your instance is NOT named Extremepos then you will need to select “Use another SQL Server Instance”. Make certain you use the same instance on all PCs.
THE FOLLOWING SECTION APPLIES ONLY IF THIS IS THE SERVER STATION. OTHERWISE, SKIP THESE STEPS UNTIL THE NEXT BOLD INSTRUCTION.
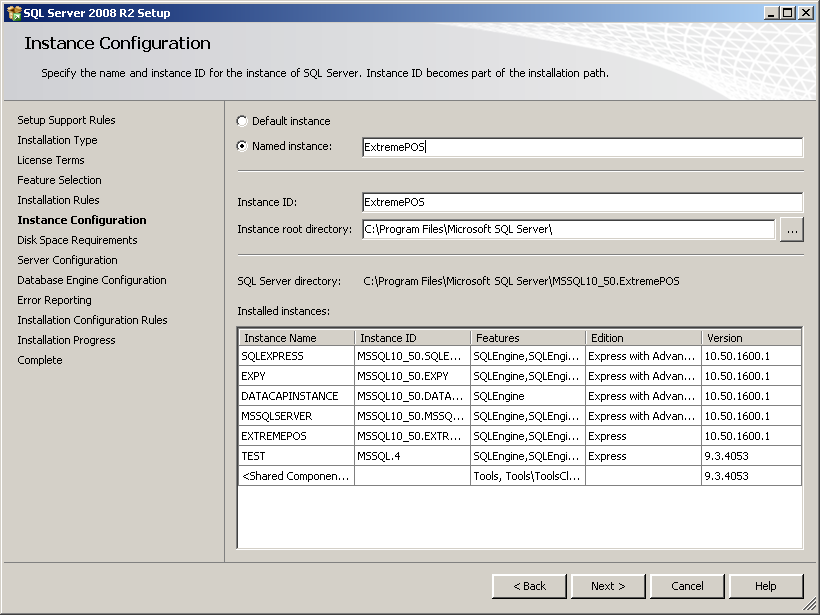
If you select to install a SQL Server instance, the software will be automatically downloaded and the installation process will be launched. You may accept the default settings for the server, including accepting the license agreement.
By default, the server instance name is “ExtremePOS”. If necessary, you may name it something else, but you will need to know what you call it.
ONCE YOUR SERVER IS INSTALLED OR IF YOU ARE NOT ON THE SERVER, FOLLOW BELOW:
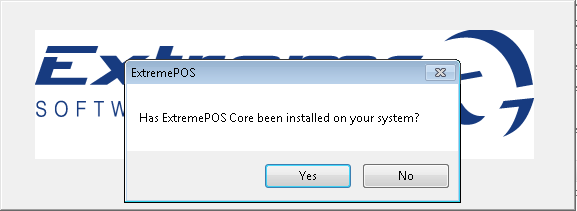
You will be asked if you have installed the ExtremePOS Core files. You should say “No” the first time you get this screen, and the ExtremePOS Core files will be downloaded and installed.
Select the EPOSCore file when prompted. If you installed to a non-default directory, you will need to browse to the install path that you had selected. Finally, you will be asked to register.
Fill in the Serial Number and your Customer number from ExtremePOS, or select demo if you are installing a demonstration copy. If this is successful, then the program is ready to use!
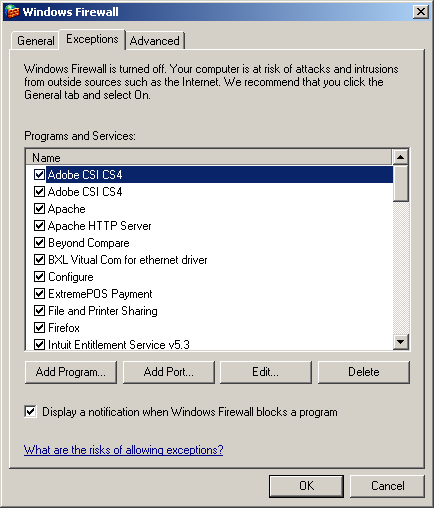
SETTINGS IN WINDOWS FOR MULTISTATION INSTALLS:
If you are setting up a multistation system, you will need to make certain that you have certain settings correct. Primarily, you will need to make certain that your firewall is correctly configured.
By default, in whatever firewall program you use TCP and UDP ports 1433 and 1434 should be opened. However, this can vary from system to system and from program to program.
For the default windows firewall, these exceptions may be set by going to START -> CONTROL PANEL -> WINDOWS FIREWALL. Go to the EXCEPTIONS tab and click ADD PORT. You will need to separately add the TCP and UDP Port.
Should you need help with this, please contact Extreme Point of Sale, Inc, Support at 919-387-7595x101.