The employee maintenance screen allows you to add cashiers and customize their permission levels, adding restrictions on what they can do within the software. The employee maintenance screen is accessed from the login screen, before you enter your username and password. It is in the tools menu.
Once you're in the maintenance screen, you can see two tabs - one for General, where you can add new cashiers, and one for permissions, where you can set what each cashier can do.
In order to add a cashier, hit the add button. You are required to put in a unique two-character cashier id for each cashier you want to add. You are also required to put in a password for this cashier - this can be up to seven characters long. Optionally, you may link the employee to a customer number, in order to associate them with a name, address, and other details.
After adding a cashier, you should set up their permissions. To do this, make certain on the general tab that the cashier for which you would like to set up permissions is selected. Then, click the permissions tab. You will see a column of buttons, to allow you to select general categories of operations.
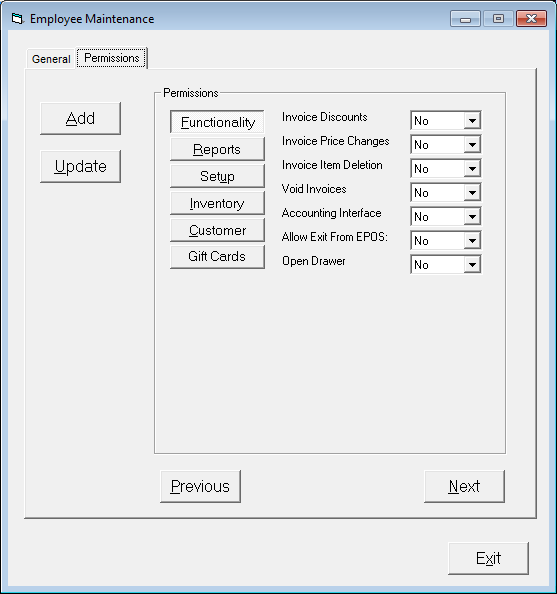
For each operation, you may select Yes, No, Prompt, or Override. If the cashier is set to yes, they are allowed to do the operation. If the cashier is set to no, they will get an error telling them that they do not have permission to do that. If the cashier is set to prompt, they will get a prompt when they attempt that operation, allowing someone with override access or an administrator to enter their username and password to allow it. If the cashier is set to override, they may do the operation and they may also allow enable someone who is prompted to do it.